Build your own arcade
Everyone is facing self-isolation nowadays. We feel it could be challenging to be occupied and you might be more open to try new things. If you search around the internet you can see that everyone is trying to be more online – people start a podcast, give tutorials and participate in online classes.
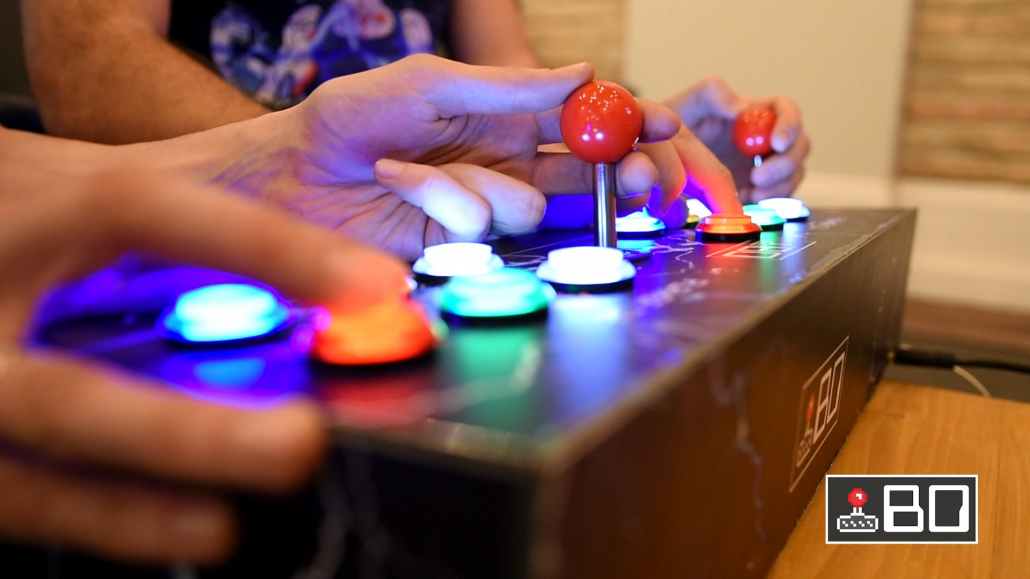
To help you a bit in your solitude we have decided to give you a guide how to build your own homemade arcade machine
. Moreover, we will also give you our sketch to cut out and our own skin which is ready to use. Feel free to use it, build it, make modifications ad have lots of fun.
Also, don’t forget to take a photo about your version and send it to hello@ibosoft.eu. Or just share it with us on our social channels.
Let’s begin
It was a few years ago when Raspberry PI was flourishing and there were lot’s of projects on Kickstarter as well. As retro gaming fans we were curious and found amazing projects that show us how to use the device to create your own machine. Our favorite was Bob’s video (big thanks for Bob sharing this video!), which helped us get started.
If you’d like you can watch that video below.
First steps
After we watched the video we were like “OMG let’s do this”, as it looked really simple and easy to do. So we just did a short search on e-bay and ordered all the following things:
We didn’t buy the power adapter, because we simply used our micro USB phone charger to turn our arcade on.. At first we didn’t find a wire stripper at home so we used a scissor. But we highly recommend you to buy one as it will make your work 100% easier and you won’t waste too many cables as we did with the scissor. 🙂
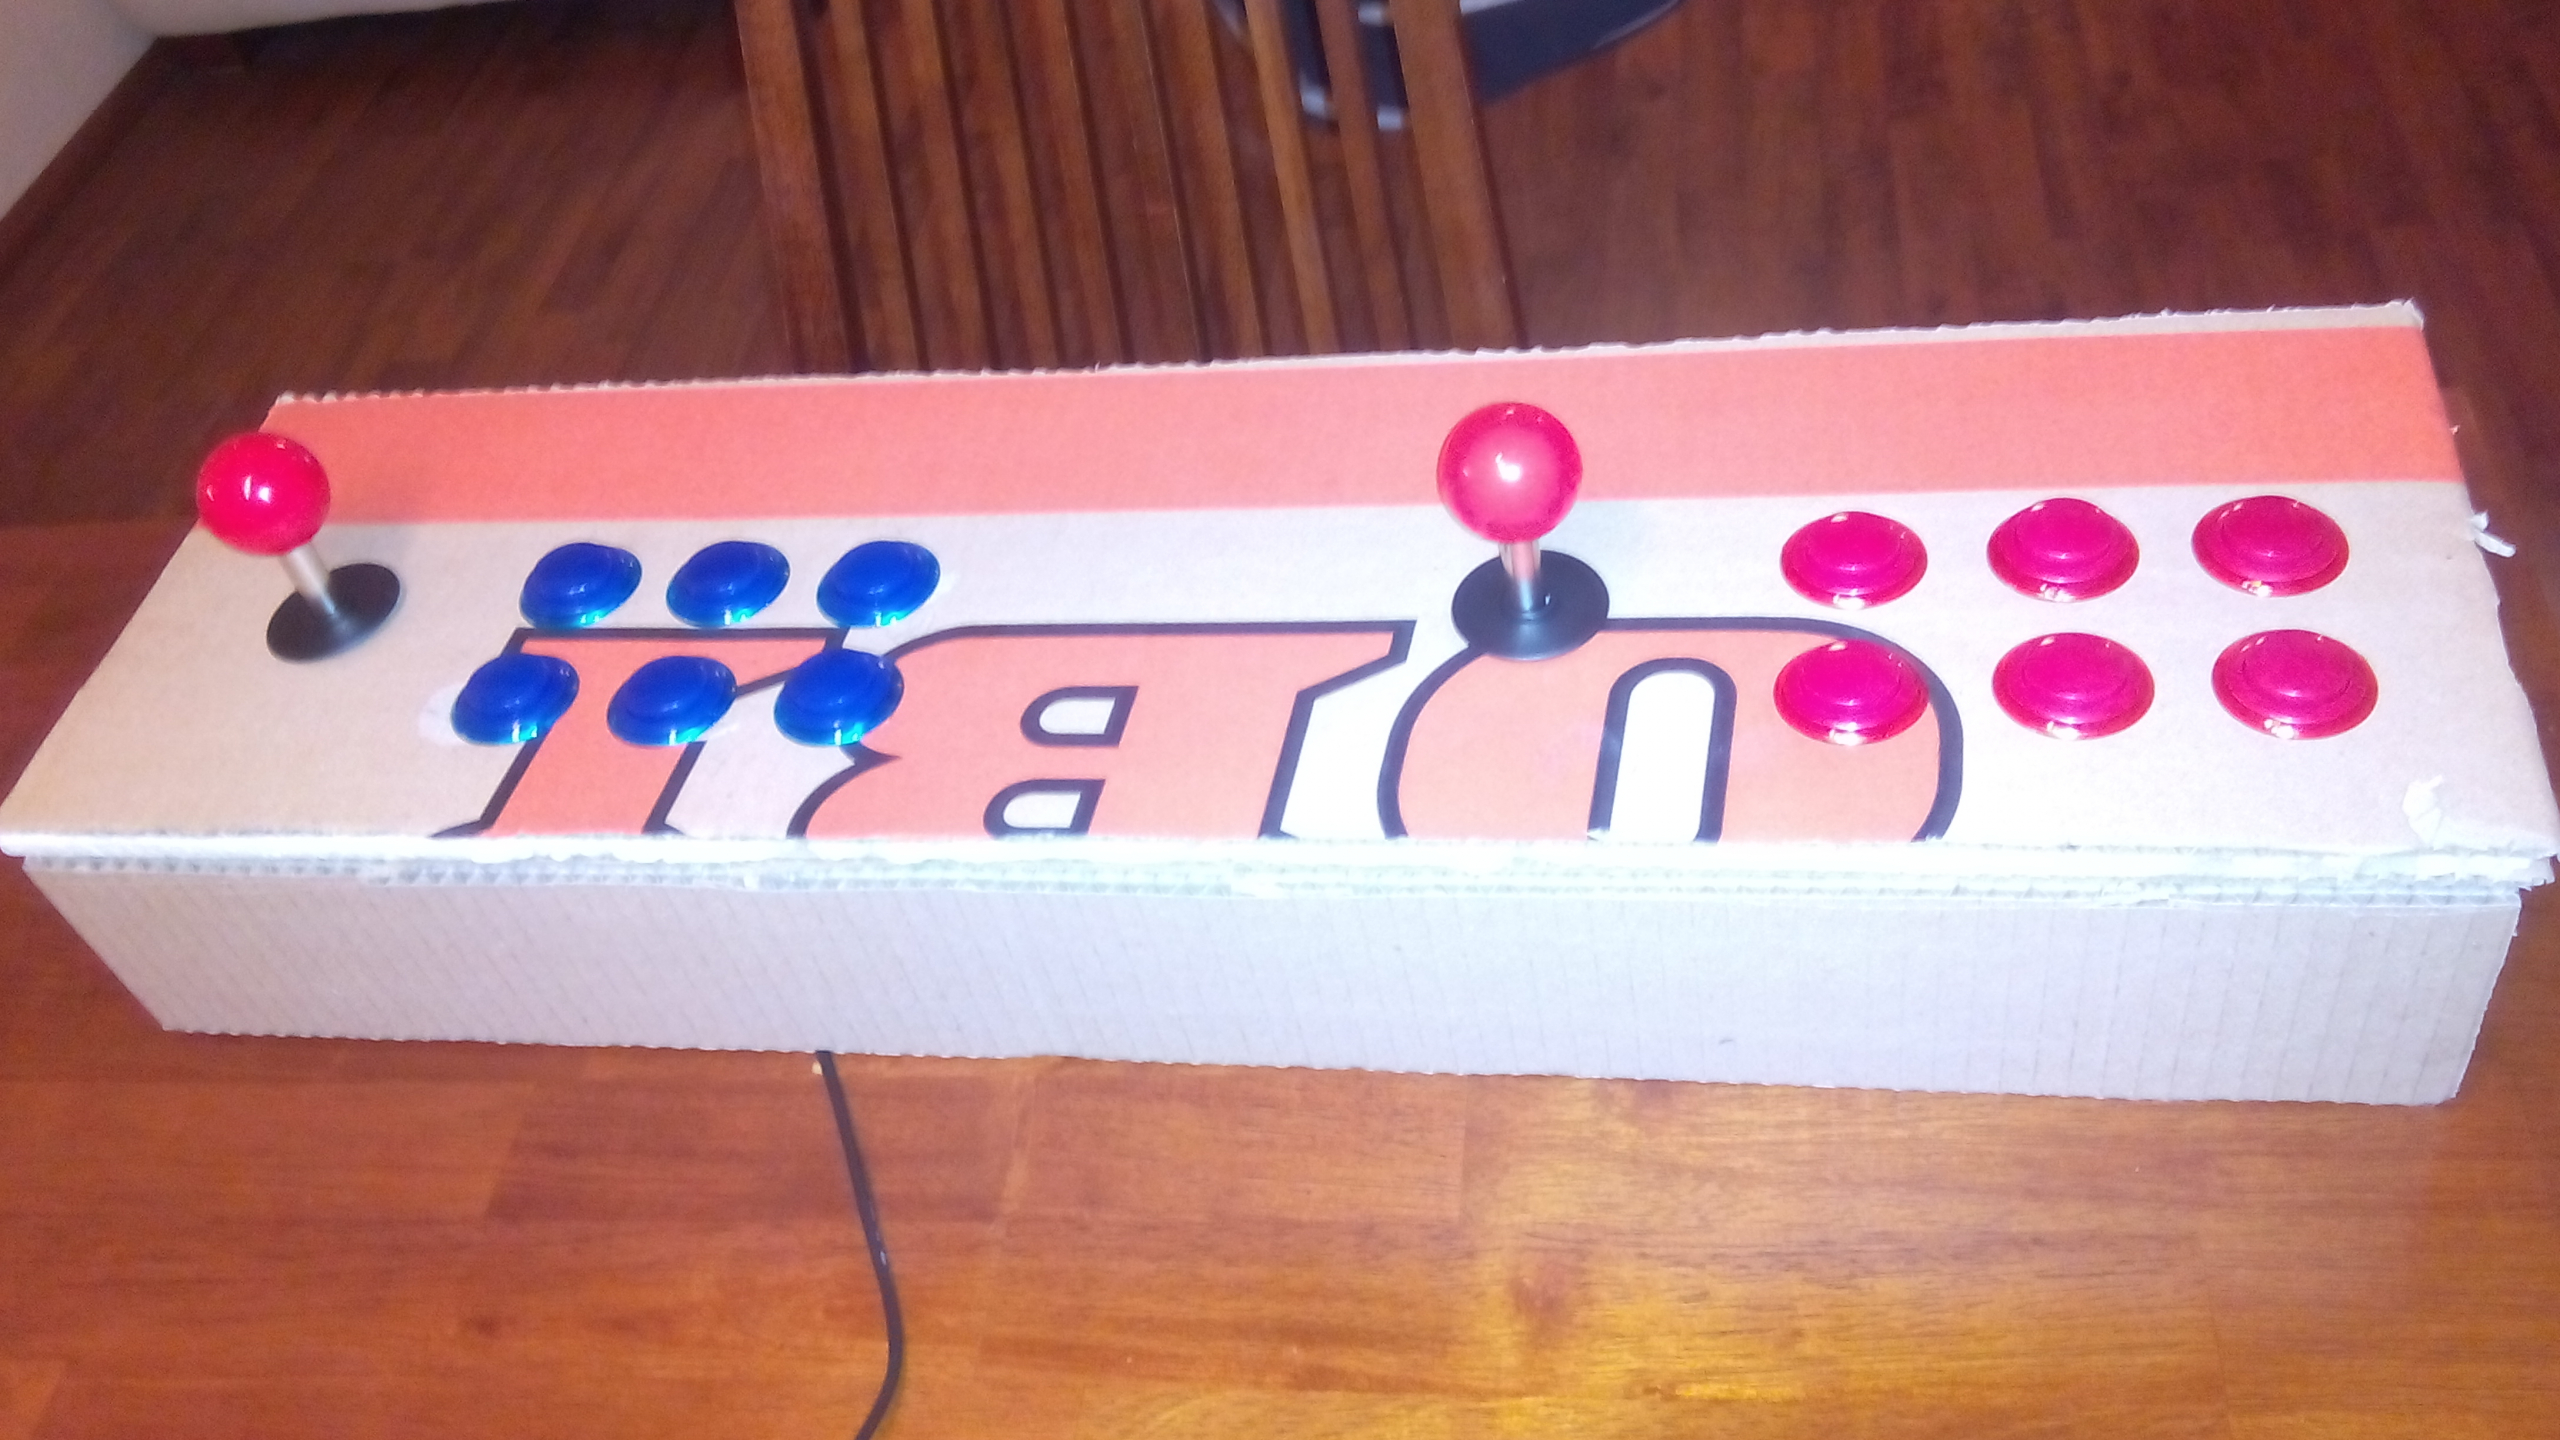
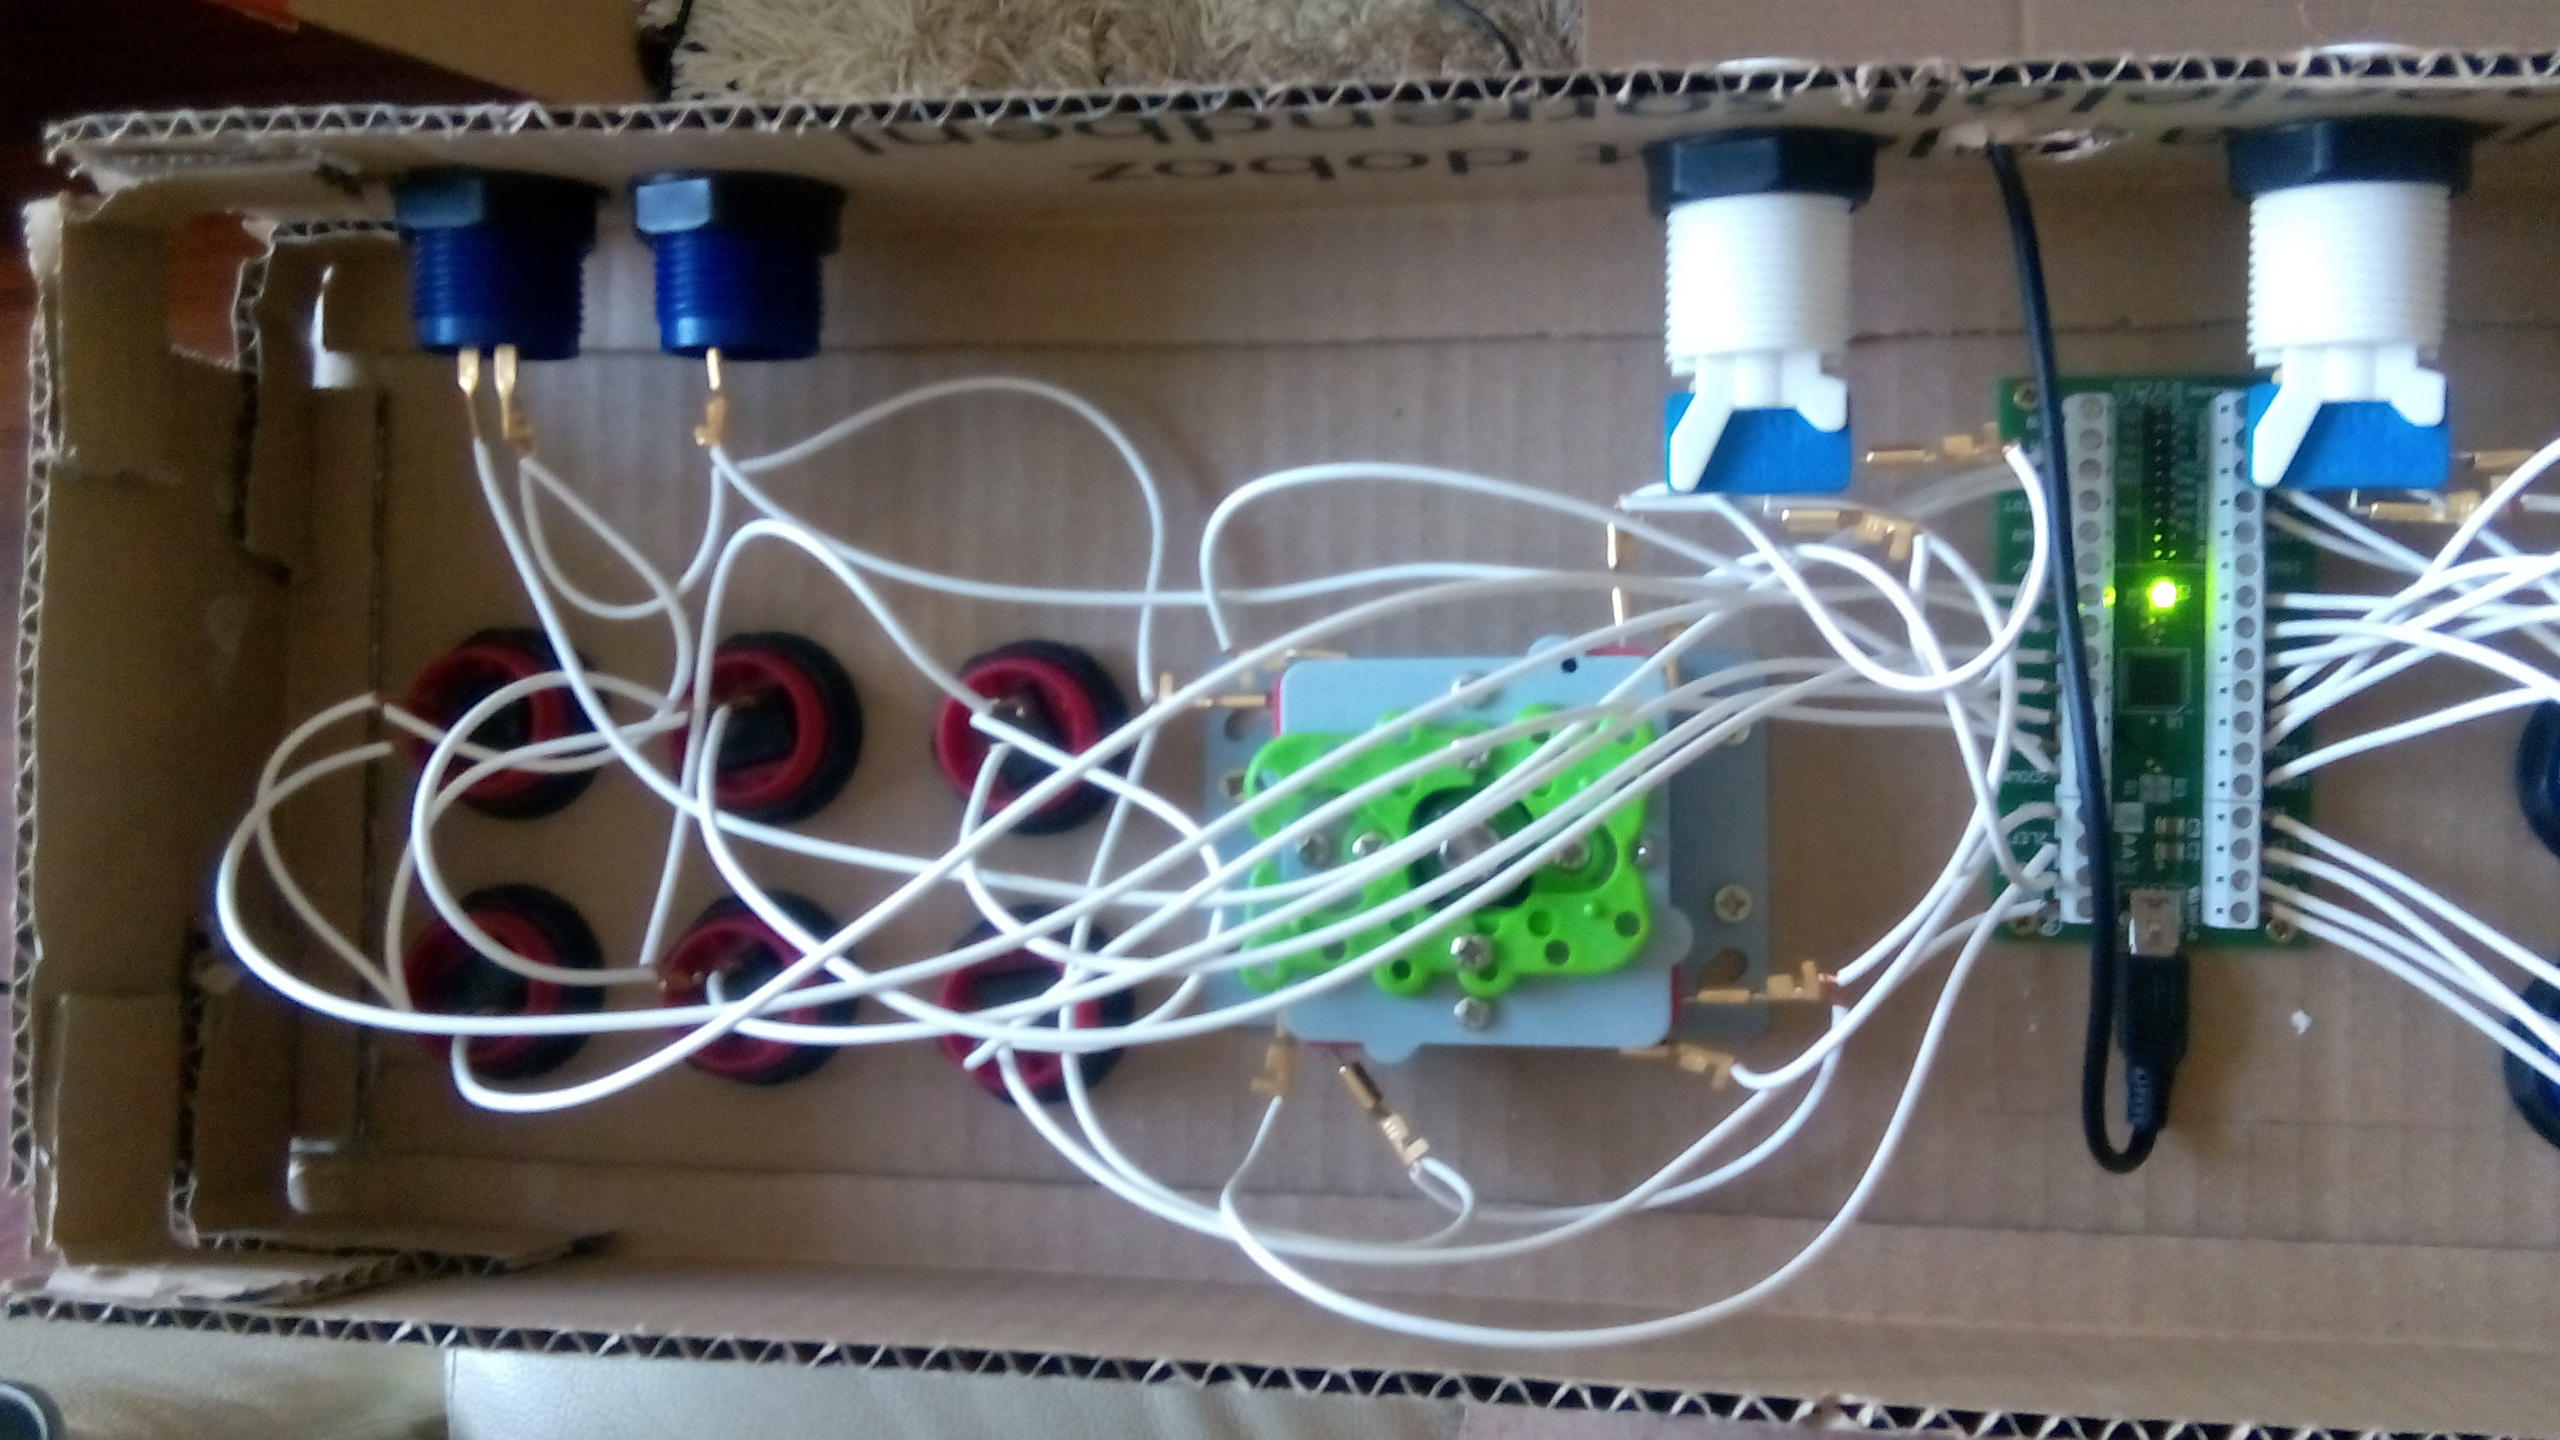
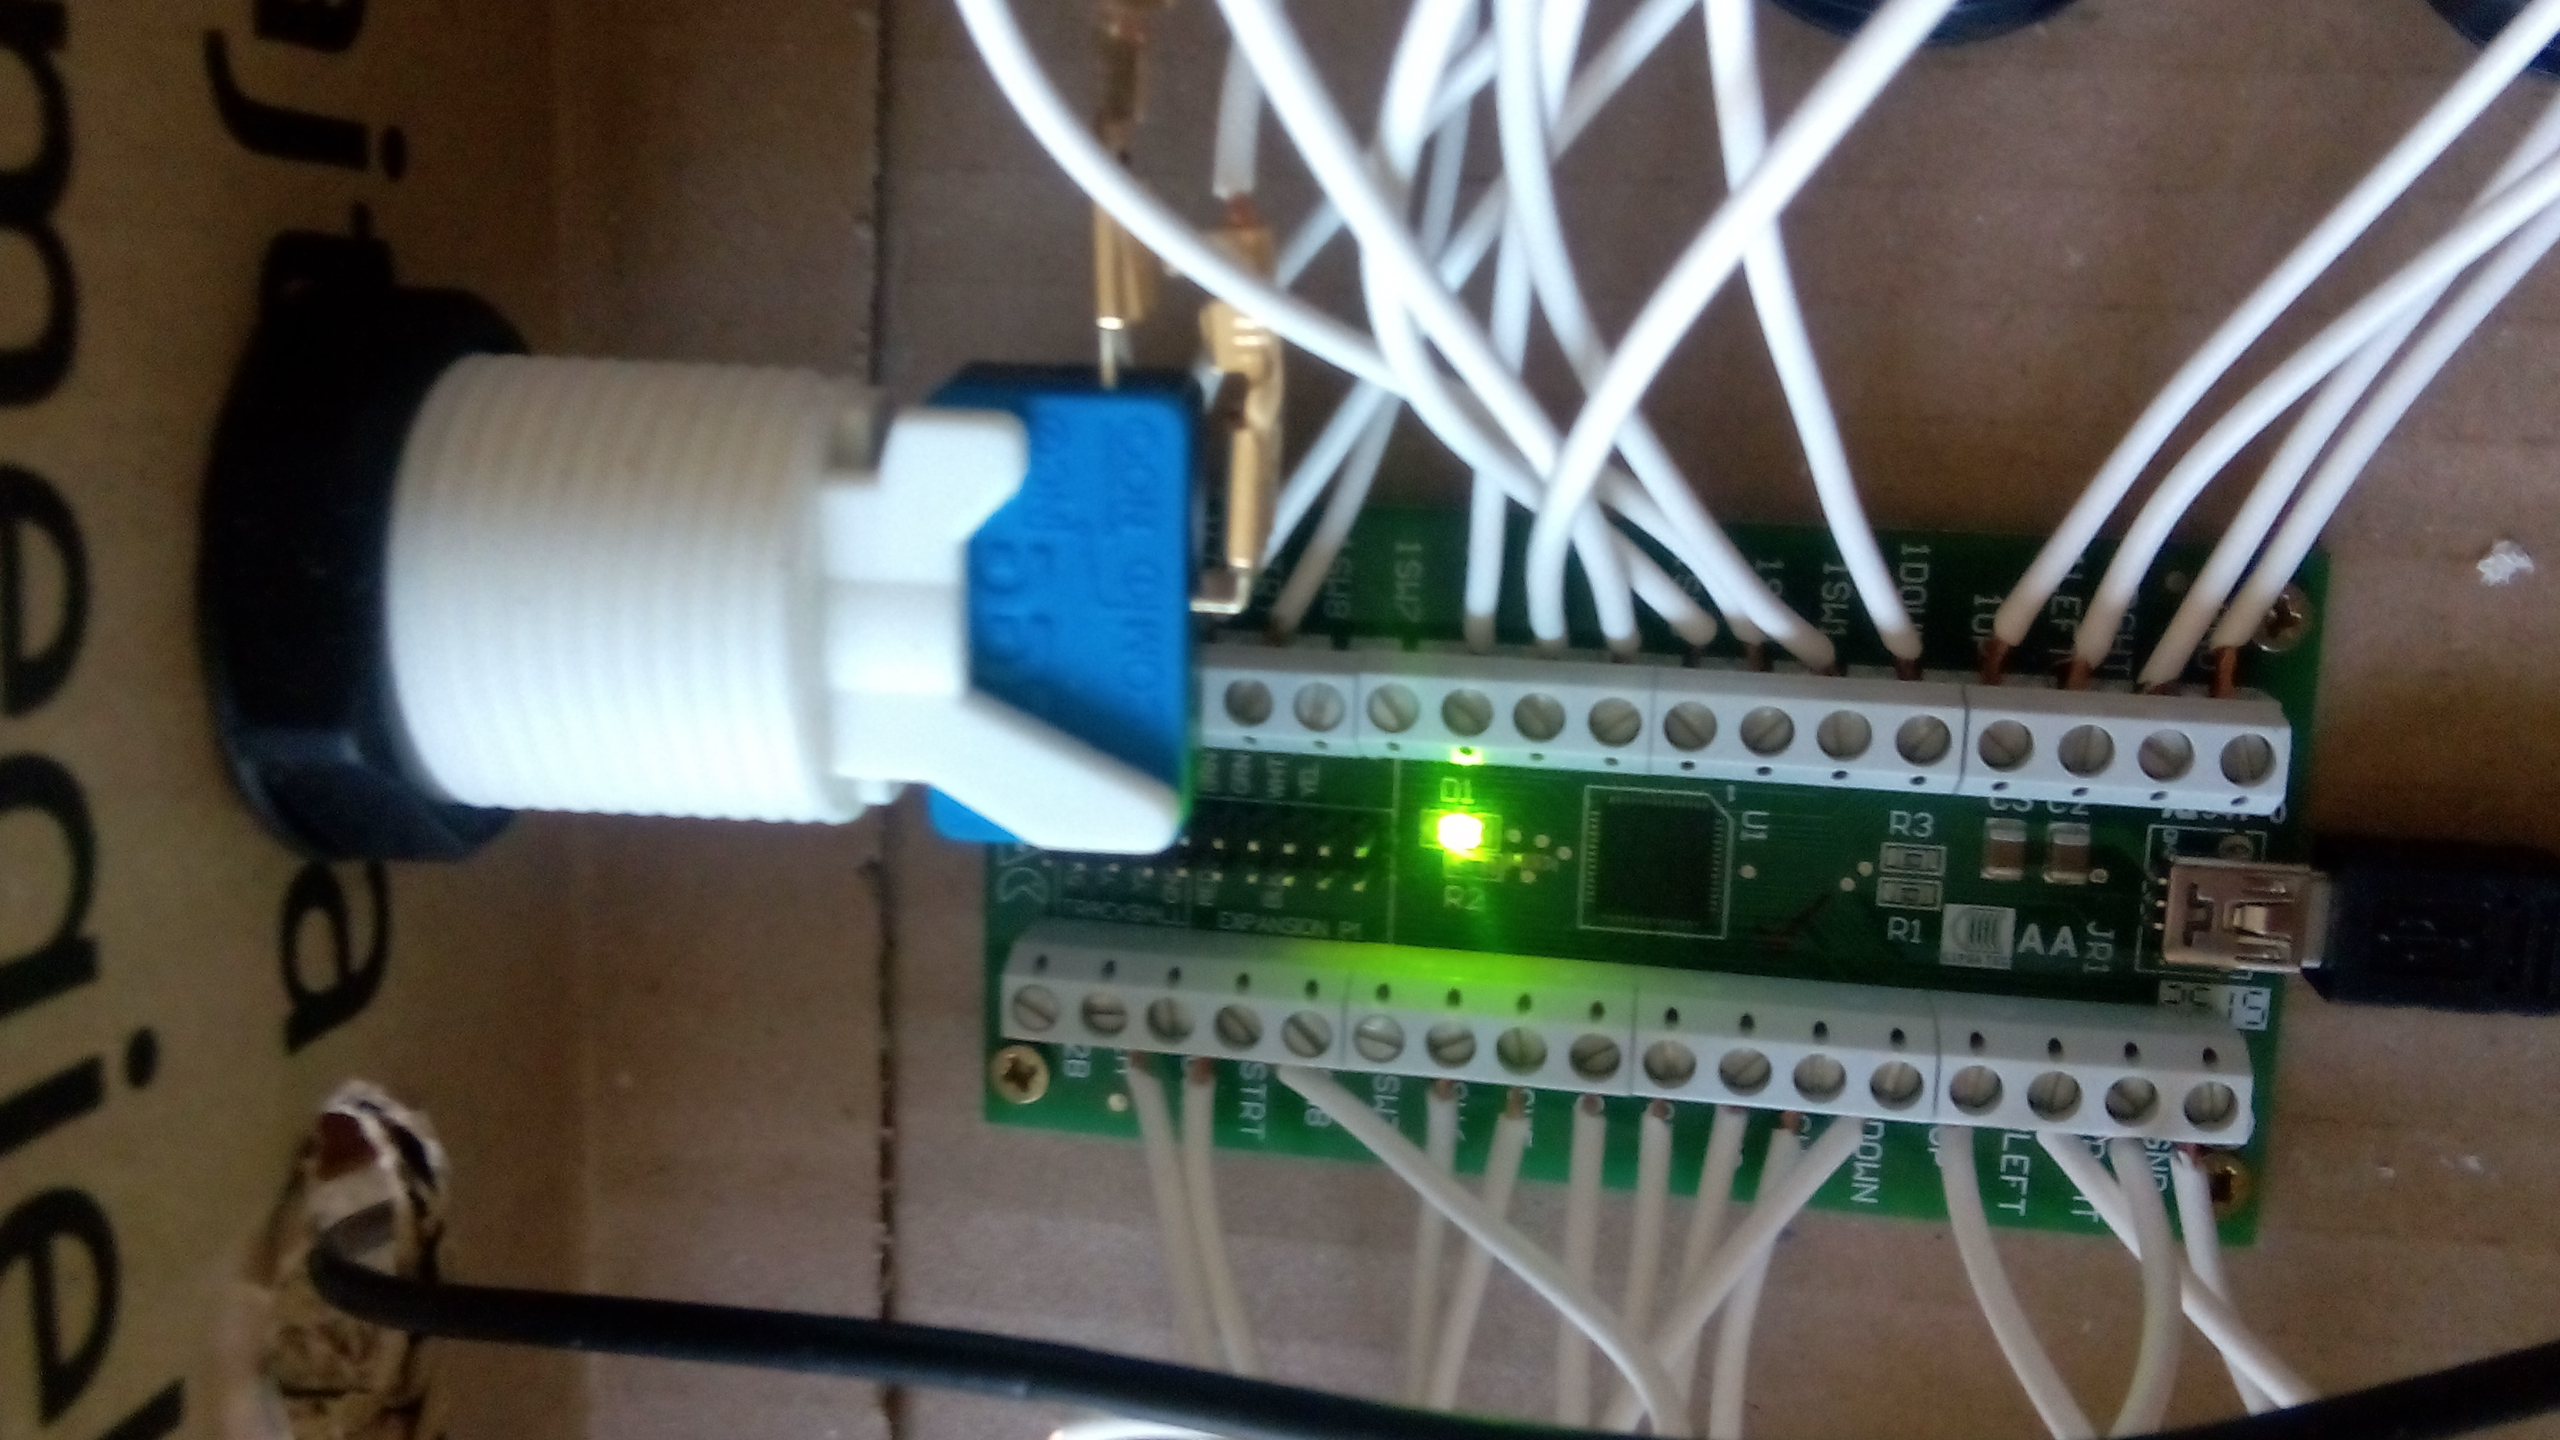
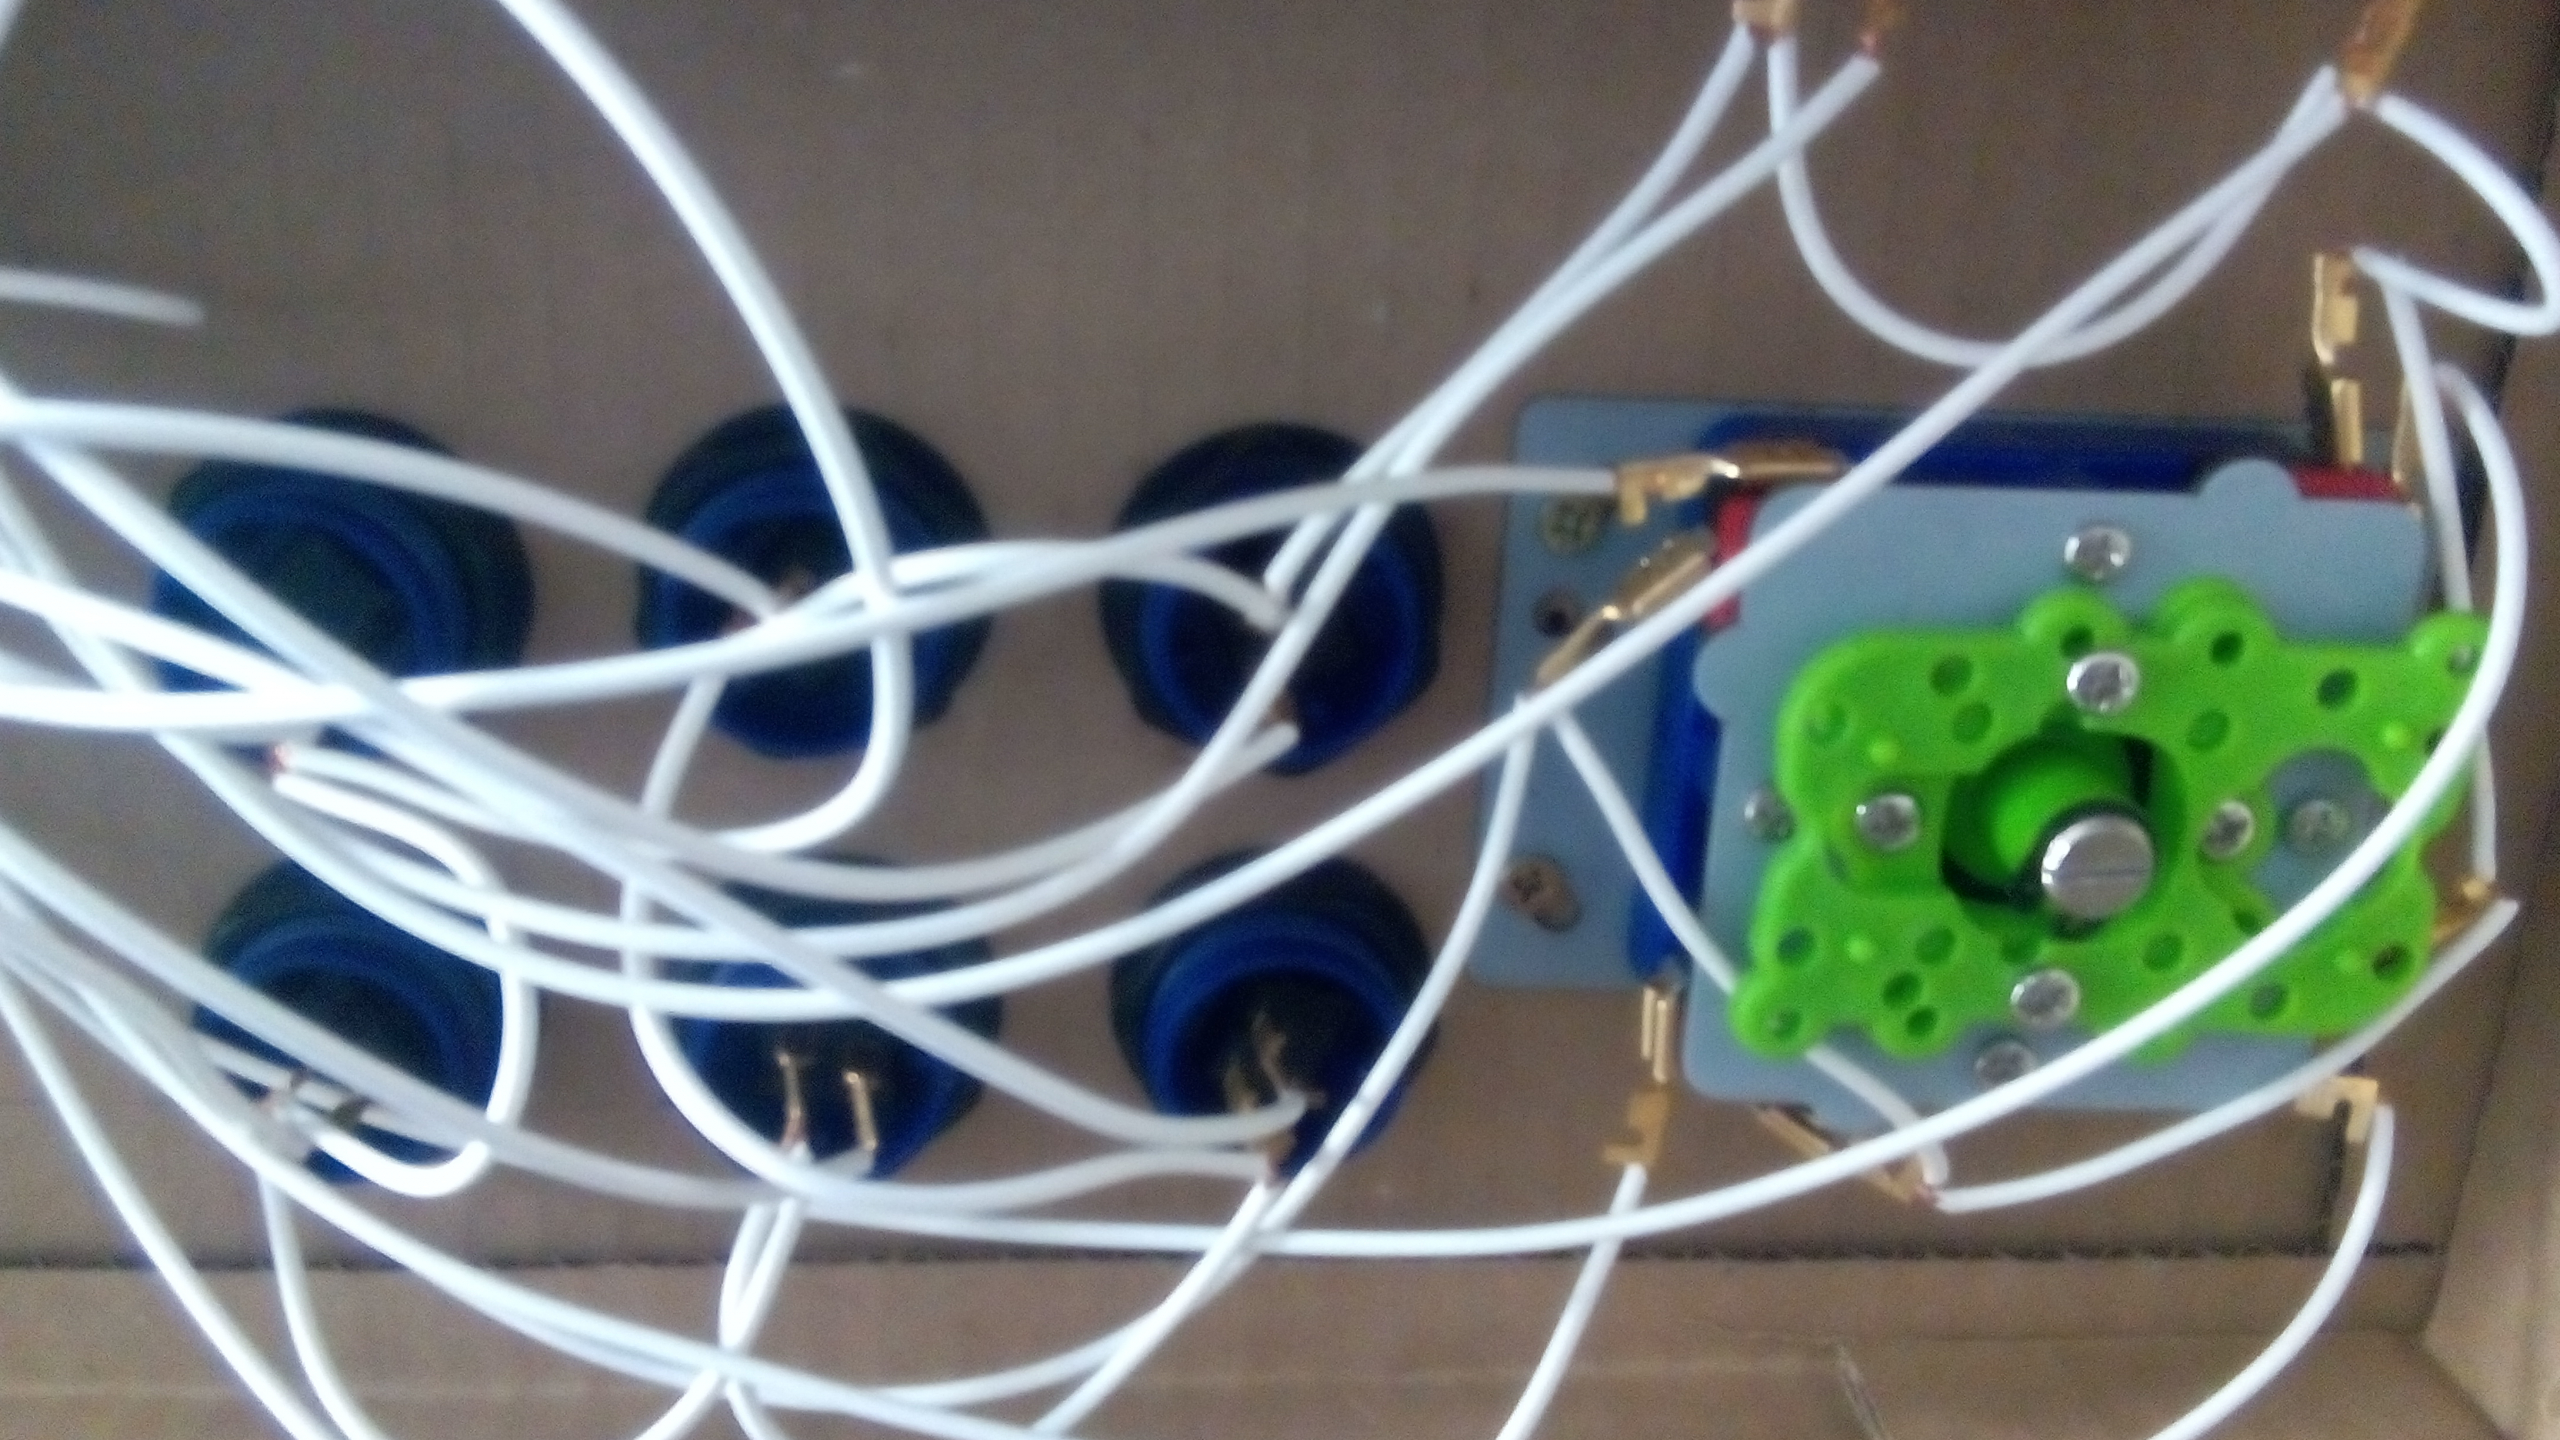
The next step was to to try if we can put things together from a cardboard. Seriously guys. We didn’t go to a shop to buy wood – we simply went to a market and bought 2 pieces of transport boxes. It needed to be strong so we made a sandwich with 1 cardboard on the top, 1 Styrofoam and 1 cardboard sheet again. This way we were able to screw all the joysticks and the ipac controller and also the Raspberry PI in to the cardboard.
Check out this gallery how it looked like.
First we tried with Raspberry PI 1, and then with Raspberry PI zero. Both products worked without any issues.
Woodwork
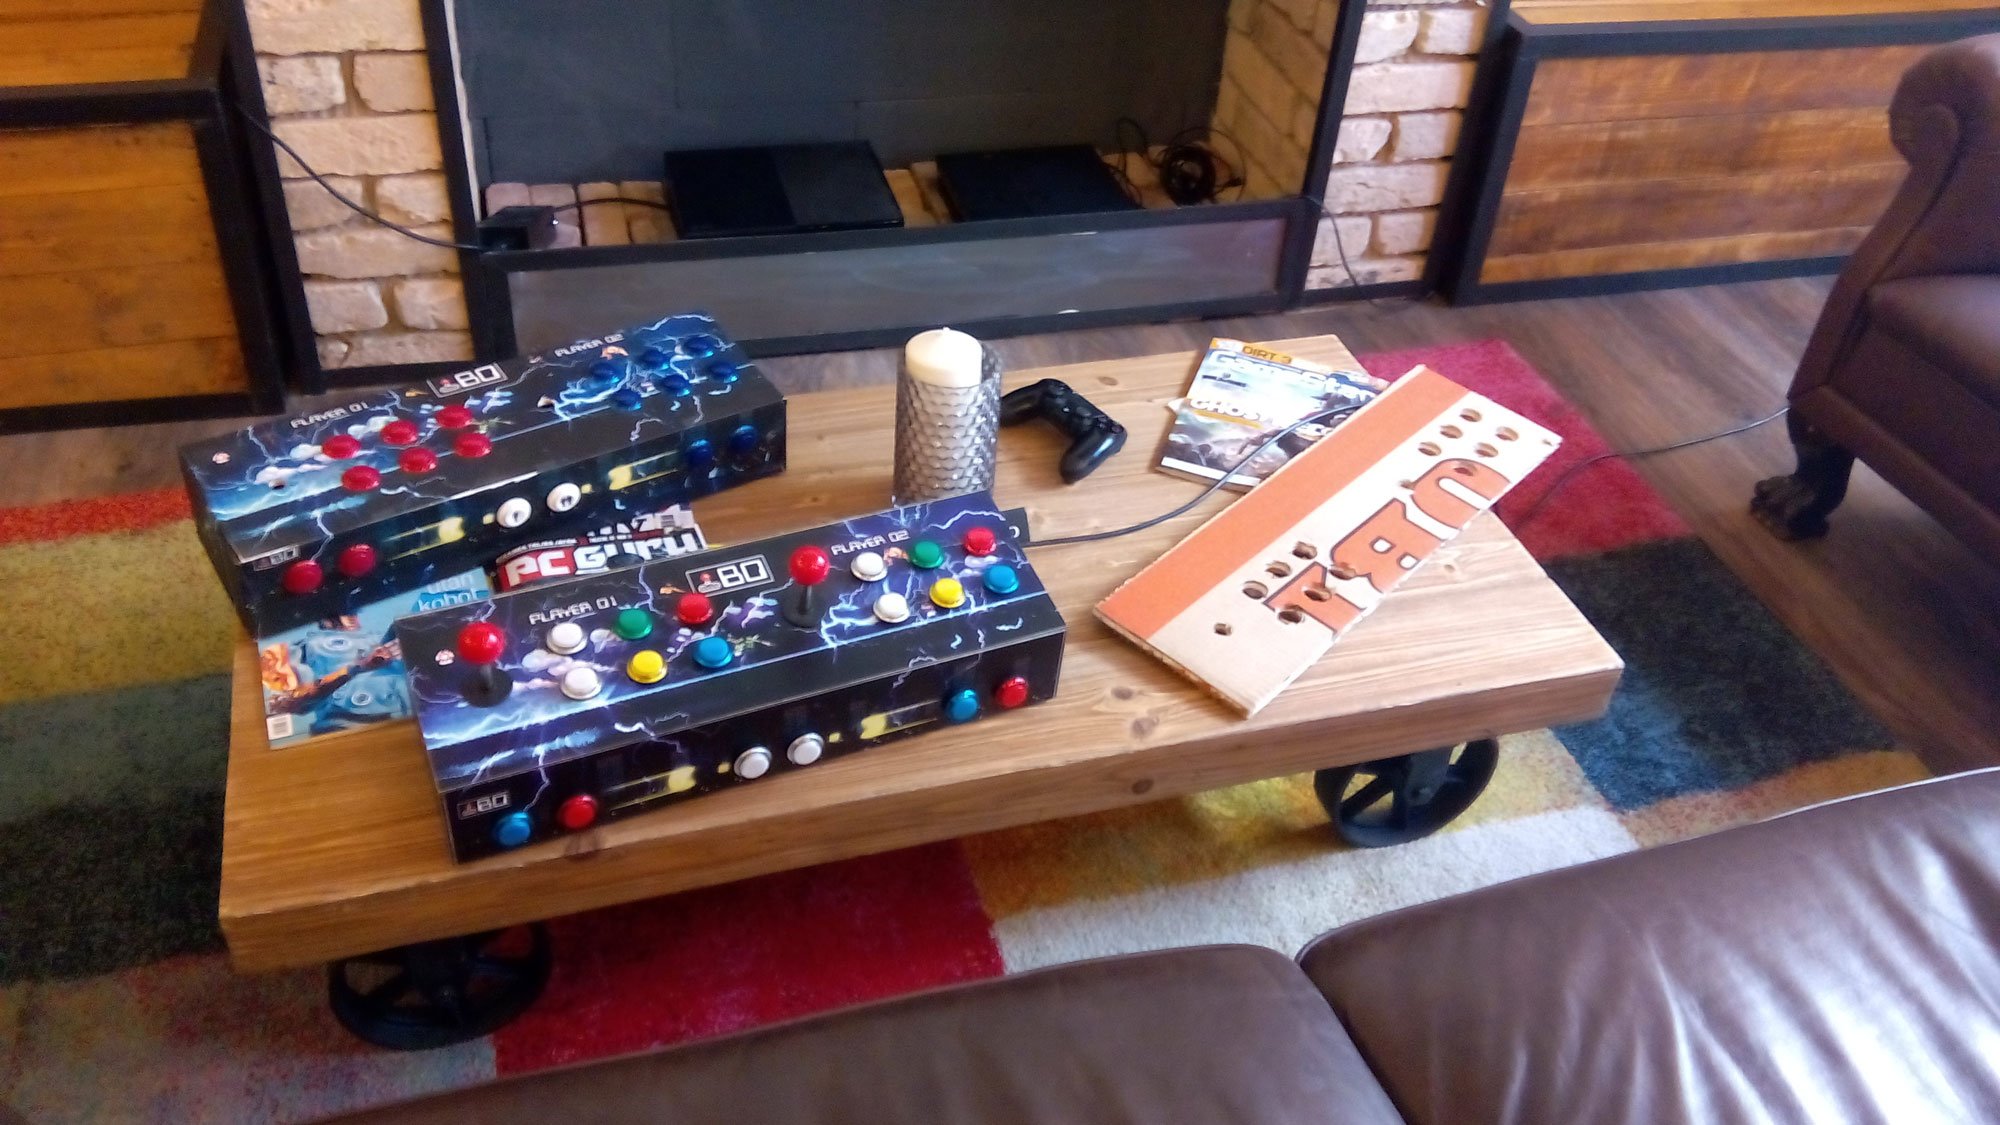
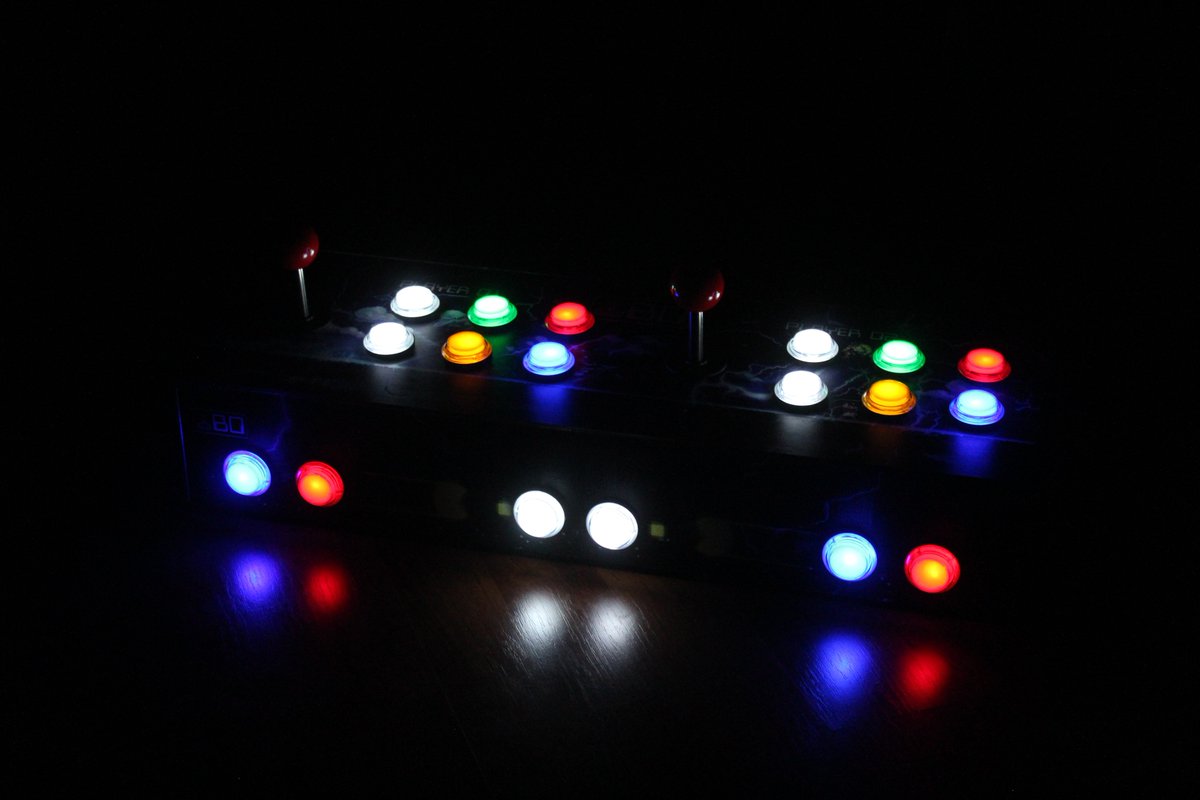
After we managed to connect this cardboard arcade to our TV we decided to move forward and design a cut out and also some skin to it. As you can in the first version we tried to use simple buttons without any LED lights, just because that’s cheaper. But now when we were sure we can do it, we decided to switch to LED buttons and Raspberry PI Zero.
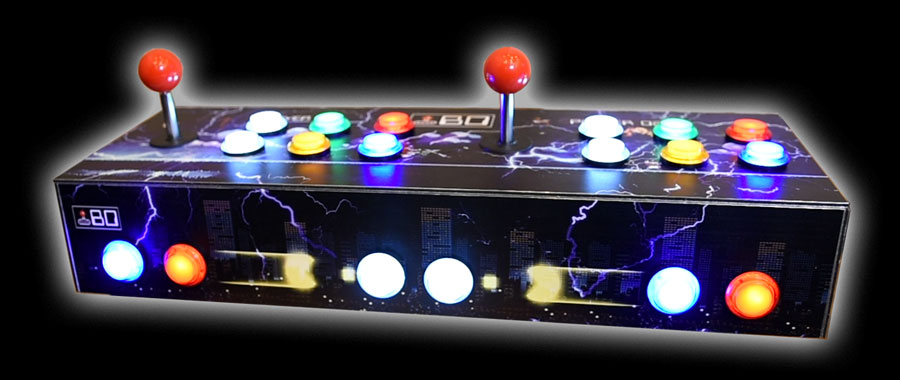
Se we talked with our Graphic designer, who did the following skin for us. Pretty dope right?
Don’t worry guys, we will give you the same in high resolution print, ready to go – if you’d like.
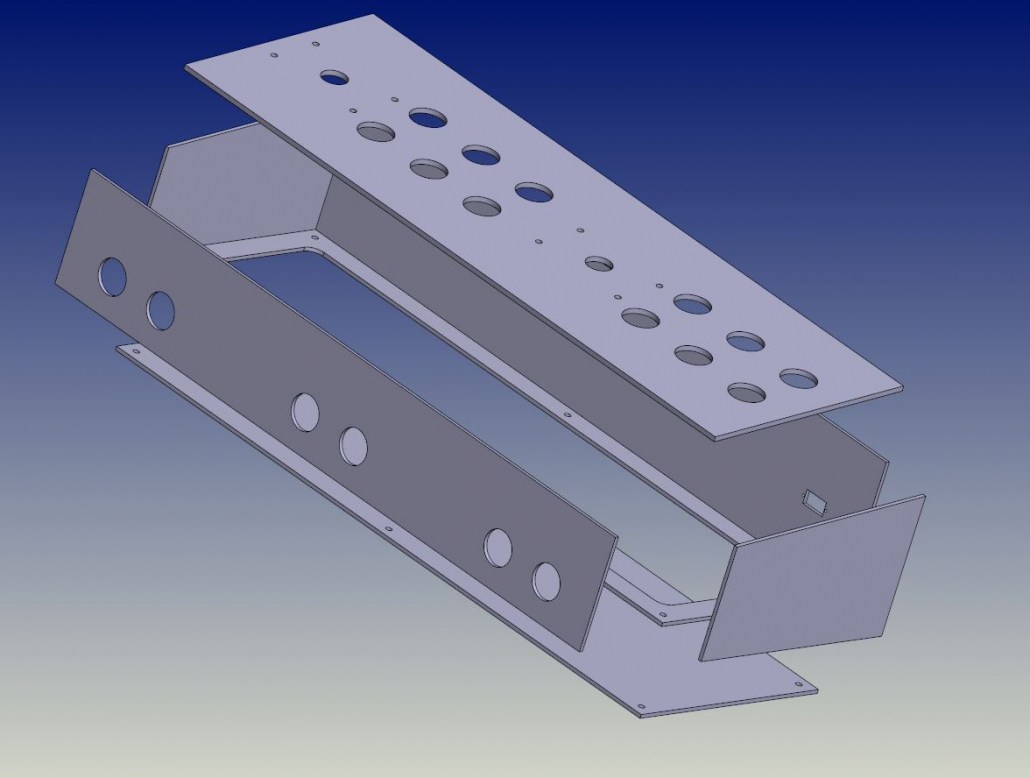
Unfortunately we didn’t find any images of the wooden version, but here’s the design, so you can at least picture it.
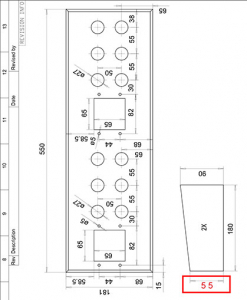
And here is an early version about our cut out plan. You can also have the latest plan, if you’d like at the end of this post 🙂
Final version
The things we failed in
Don’t make the mistakes we did, double check these:
- buy a wire stripper. You won’t regret it, it is cheap and much better then a scissor
- buy enough female wire connectors. We messed up a lot. It was not easy to work with them, so it is much better if you have backup.
- buy enough hookup wire. You will need extra. It is super cheap anyway.
- make sure you wire the cable to the correct places. First time we mixed them up and our LED buttons didn’t turned on. Always test.
- don’t try to print the skin to a sticker and attach it to the body. Just print your skin to it’s body directly.
In action
After the theoretical part you can see our arcade in action.
Want to build your own?
We have packed everything for you and we’re happy to share with you. Please fill out the email form below and we will send you everything via email. Don’t worry, we won’t send any other emails to you. We only want to keep things personal.
Just fill out this tiny form below and we will send you an email within 24 hours with everything zipped and ready to use.
Also, if you have any other tips, ideas please feel free to share with us!
Until we meet again!

